Domino Application - ZEN style
Great work is under way to make Domino work as a first class citizen in the shiny new Ajax world. With this field covered I decided to look the other way: how minimalistic can a Domino application get and still work properly. I want to build a small approval application, just one approver level. It is mainly for documentation, not to execute a sophisticated mapped out workflow. Something that is a little bit more structured that sending eMail requests.
So let us assume I know HTTP/HTML very well. I don't know JavaScript (and I might want to use the app with devices that don't support JavaScript). I don't know Java or LotusScript. I have a limited understanding of @Formula (some basic stuff like @Command([FileSave]) or @Trim(@ThisValue) or @if(...)). I also have a friend who does the CSS for me. I have an excellent understanding however how Domino does forms, how Author and Reader fields work and how Domino URLs are constructed (which resemble some kind of REST API, so learning them with my background in HTTP was quite easy). How far can I go?
There are quite some steps involved. But they are less than it looks like.
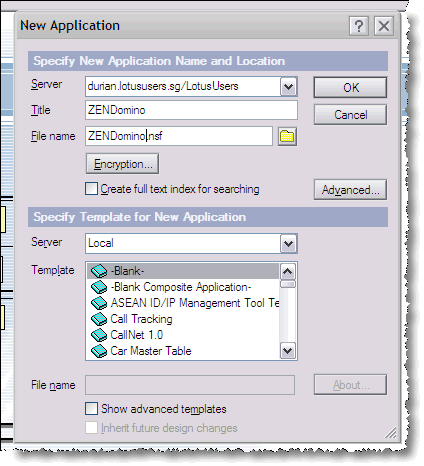
Step 1: Create the database
Step 2: Set the ACL
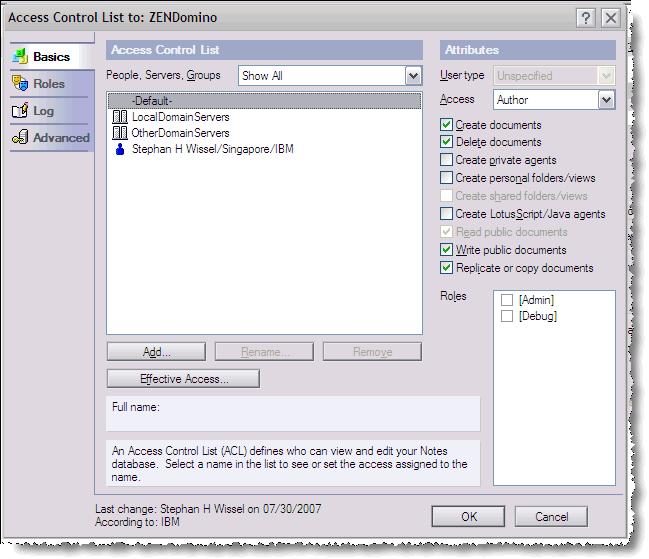
Since I want anybody to be able to use this little gem, I set default access to Author. Please --> In your environment follow best practices and set it to -No Access- and have an appropriate access group... but that is what the Administrator will do for you anyway. Just keep in mind to create the [Debug] role (You might not understand it but you liked the idea in that SnTT post).Step 3: Create the Form
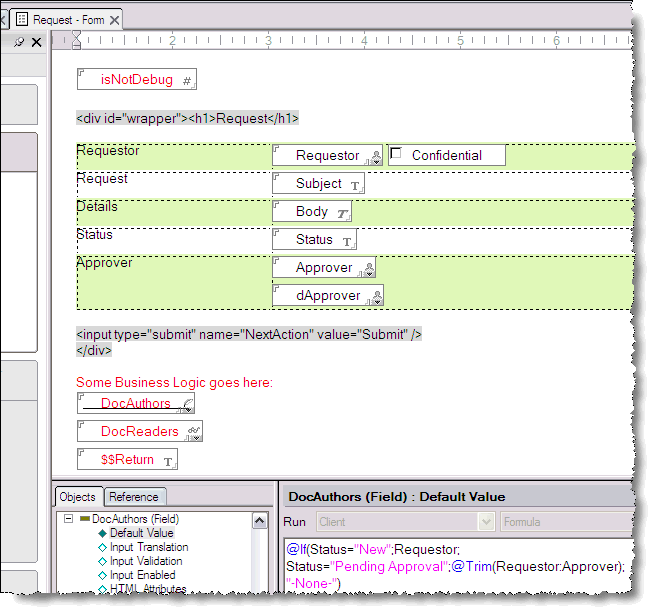
We already know some of the input translation stuff and have a good idea what fields we will need. Also we understand that it is a convention to have hidden fields in red. We also know that we can mark sections of the text as passthru HTML. The result is an already working form. I could have added a field that sends out an eMail notification, but we don't want to get too sophisticated here <g>. The result is a working form
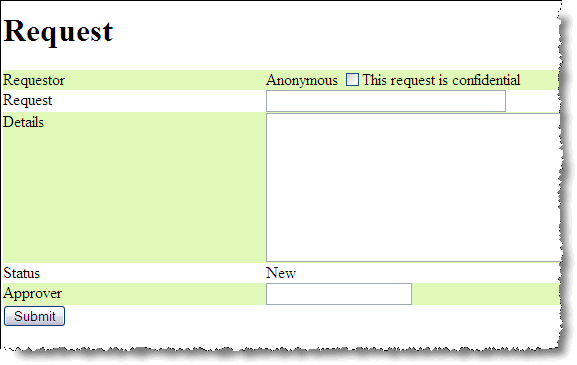
Ugly but functional (my CSS friend needs to work his magic later).
Step 4 - Adding the view

Nothing fancy, just add the columns was we used them before.
Step 5 - Adding a view template
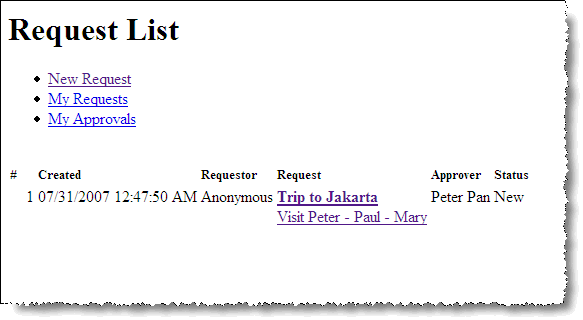
This now allows us to see the documents and create new ones. In the next installment we look at approving, rejecting or deleting requests.
Continue in Part 2
So let us assume I know HTTP/HTML very well. I don't know JavaScript (and I might want to use the app with devices that don't support JavaScript). I don't know Java or LotusScript. I have a limited understanding of @Formula (some basic stuff like @Command([FileSave]) or @Trim(@ThisValue) or @if(...)). I also have a friend who does the CSS for me. I have an excellent understanding however how Domino does forms, how Author and Reader fields work and how Domino URLs are constructed (which resemble some kind of REST API, so learning them with my background in HTTP was quite easy). How far can I go?
There are quite some steps involved. But they are less than it looks like.
Step 1: Create the database

Step 2: Set the ACL

Since I want anybody to be able to use this little gem, I set default access to Author. Please --> In your environment follow best practices and set it to -No Access- and have an appropriate access group... but that is what the Administrator will do for you anyway. Just keep in mind to create the [Debug] role (You might not understand it but you liked the idea in that SnTT post).Step 3: Create the Form

We already know some of the input translation stuff and have a good idea what fields we will need. Also we understand that it is a convention to have hidden fields in red. We also know that we can mark sections of the text as passthru HTML. The result is an already working form. I could have added a field that sends out an eMail notification, but we don't want to get too sophisticated here <g>. The result is a working form

Ugly but functional (my CSS friend needs to work his magic later).
Step 4 - Adding the view

Nothing fancy, just add the columns was we used them before.
Step 5 - Adding a view template

This now allows us to see the documents and create new ones. In the next installment we look at approving, rejecting or deleting requests.
Continue in Part 2
Posted by Stephan H Wissel on 30 July 2007 | Comments (3) | categories: Show-N-Tell Thursday